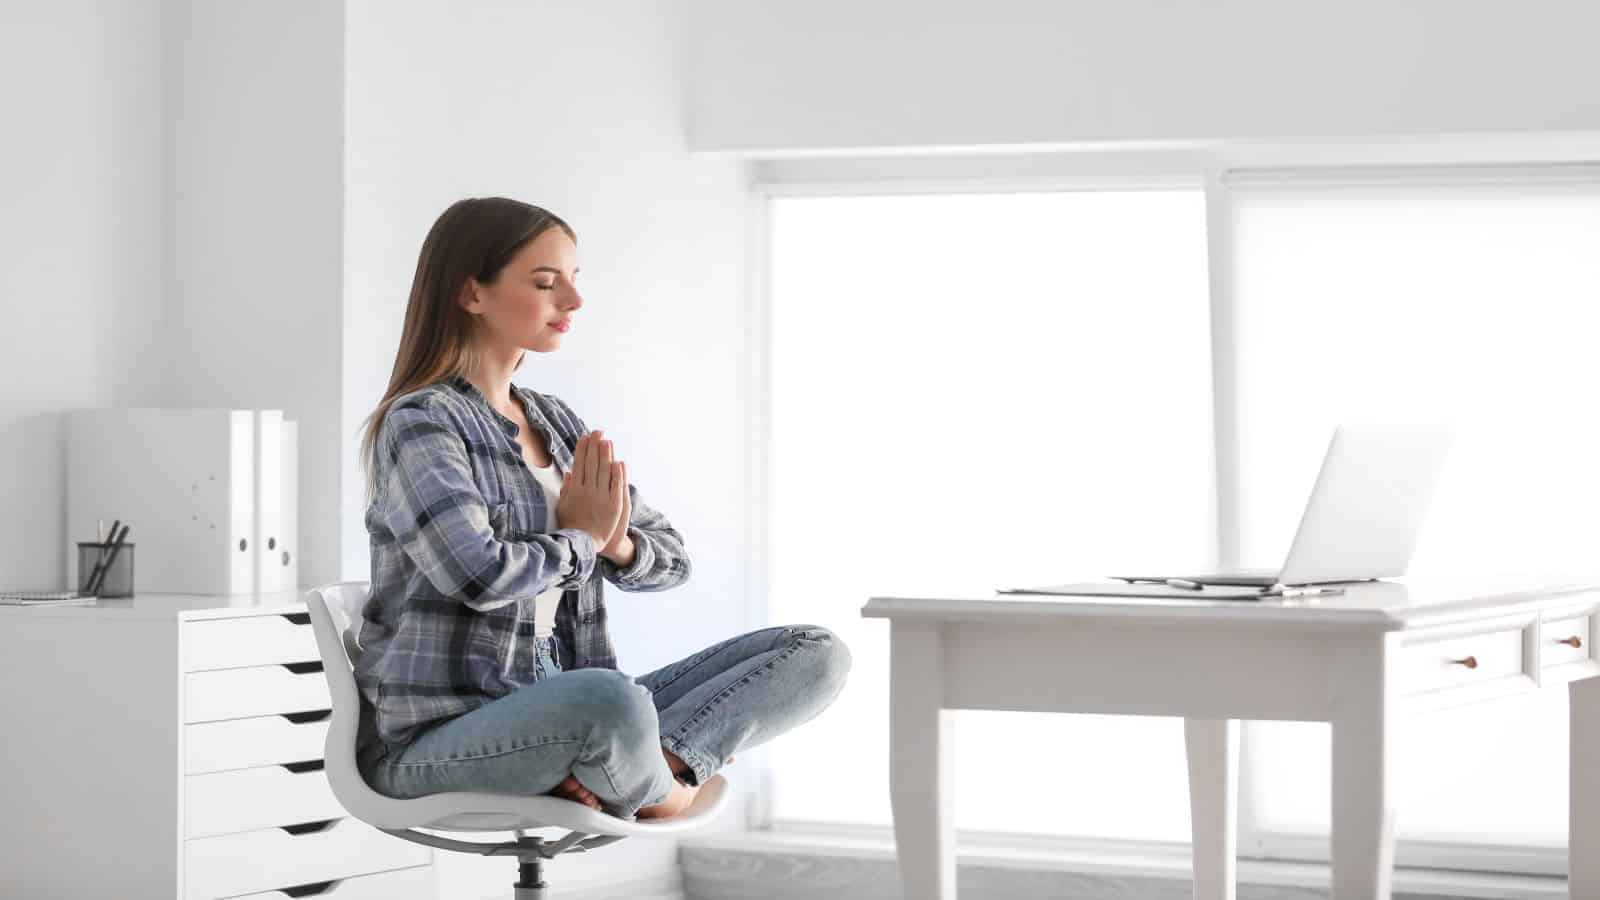


Wouldn’t it be nice if you could sit in a chair and work out? Half the benefit of exercise is that it works muscles and joints, but what if you have knee pain and can’t bend and move as you want? Then give chair yoga (aka seated yoga) a try!
Chair yoga allows you to enjoy a modified version of the yoga positions that many know and love.
Yes, you can get a workout without acerbating your pain. If you lack the mobility to move quickly to the various positions, then you can use the standing, seated, and supine position to get in your workout. The best part about seated yoga is that you can do it just about anytime and anyplace.
Because the basic body mechanics are retained in the chair version, you still get a great deal of stretching into your workout. Using these modified methods, you can twist, bend, and do hip stretches without causing your knees any more pain.
The stretches involved in yoga allow you to enjoy numerous health benefits, whether you’re standing or sitting. You will improve your muscle tone, develop better breathing habits, and you can reduce your anxiety and stress levels. Additionally, many find that they sleep better at night and have an overall better sense of wellbeing by partaking in this exercise form.

Why Chair Yoga?
If you want to enjoy yoga, but you’ve had knee surgery or have problems with inflammation, the mobility limitations won’t hold you back anymore. Using a seat and modified yoga positions can help support you during the time of injury or when your body won’t cooperate with all the bending and moving needed for the traditional form.
Who does seated yoga classes? It’s widely used in places where people have limited mobility, such as nursing or retirement homes and senior centers. Additionally, those who are overweight and want to find an exercise regimen that they can do also love the chair style yoga.
People with neurological problems that don’t have the coordination to bend and move like needed can also benefit. Best of all, you can use your office chair and make some of these fantastic moves while you’re on a 15-minute break or at lunch. It’s another way that you can increase your health and wellbeing using this ancient Indian art practice.
The Ten Best Chair Yoga Moves
The beautiful thing about chair yoga is that you can adapt it to your needs. The chair you use is of little importance, so there’s no need to buy a specialized seat to do your workout. One word of caution is that you don’t want to use a seat on rollers, like your office chair.
Chairs that move around have the possibility of causing you to fall and get hurt. However, just about any other seat can be used for this workout. If you are a shorter person, you may have problems putting your feet firmly on the ground. So you might need to use blocks to give your feet a firm foundation.
If you’re ready to get started, here are ten basic chair yoga moves you can do.
1. Chair Eagle Pose
The eagle pose is a simple maneuver where you cross the right thigh over the left one. Depending on your mobility, you should try to wrap the right foot around the backside of the left calf. If your foot is not that flexible, then do the best you can.
Cross your arms and place your left hand on the right elbow. Now, slowly bend the elbows allowing your palms to make a connection. Drop your shoulders away from your ears and lift your elbows slightly.
It would help if you tried to hold this position while breathing in and out for five breaths. Then, switch and do the other side to the count of five.
2. Chair Extended Side Angle
Bend forward and stay folded. Now, place your fingertips on the floor to the left side by your foot. Inhale deeply by opening your chest as you twist to the right. Then, bring your right arm up as you look directly into the ceiling.
Hold this movement for several breaths. If you find that you cannot bring your hand to the floor with ease, raise your foot level by putting some blocks under you. It will make it easier to twist to a higher plane.
Rotate between right and left arm doing the same position and breathing.
3. Chair Raised Hands Pose
Sit firmly in the chair and keep your body posture good. Relax your shoulders, and make sure the rib cage is naturally sitting over your hips. Anchor your bones firmly in your chair seat and reach up from there.
When you inhale, you should raise your arms toward the ceiling while maintaining good posture. Relax your shoulders so that your rib cage is naturally aligned over the hips. You must anchor your bones in the chair and then reach and breathe.
4. Chair Cat-Cow Stretch
Sit firmly in the chair using your best posture and plant both feet firmly on the floor. Now, place your hands on your knees. If you’ve just had knee surgery, you can put your hands on your thighs.
Inhale and arch your back while rolling your shoulders back and forth. Your shoulder blades should come into your back, almost touching each other, which is why it’s called the cow position.
When you exhale, bring your spine back to a normal position and drop your chin to the chest area. The shoulder and head should also come forward while doing this as this is the cat position. Rotate between the cow and cat position to the count of five.
5. Chair Pigeon
In the upright seated position, place your right ankle on your left thigh area. Make sure that your knee is aligned with your ankle, if possible. Then, repeat this process with the left leg. Hold this position for up to five breaths, which is called chair pigeon.
6. Chair Forward Bend
Bend forward and let your hands rest on the floor. Your head should hang heavy as you loosen the muscle tension holding it. Exhale, and raise your arms into the air and over your head.
Go back and forth with your hands between the floor and ceiling while using deep breathing exercises to do the forward bend.
7. Seated Yoga Reverse Warrior
Lower your left arm till it’s even with the left leg. Take your right arm and lift it to the ceiling. Inhale while doing these movements, and you should hold it for the count of three.
Sit straight in the chair with your legs in front of you. Now, turn to the side and sit facing the left. Now, go through these warrior poses with your arms to the ceiling while on the left, then turn and do them to the right.
8. Chair Warrior I
Keep your right leg to the side of the chair but take your left leg and swing it to the backside of you. If you have inflammation, you may have a difficult time doing this pose, so do the best you can.
Now, plant your left foot on the floor, and make sure that it’s parallel to the seat while you straighten the leg out in front of you.
Your torso should be facing the right leg as you raise your arms to the sky. Inhale to the count of three while doing the Warrior I pose.
9. Seated Yoga Pose–Chair Warrior II
Exhale and open your arms up, allowing the right one to come forward while the left arm goes backward. Turn your torso to the left while drawing that hip back.
The goal is to make sure it’s aligned with the front of the chair. Now, look across your right fingertips to the count of three for the Warrior II pose.
10. Final Relaxation
After you have completed your chair workout, sit there with your eyes closed and your hands in your lap. Rest in the deep relaxation that you feel surrounding you. Allow your body to absorb the positive effects you think at this moment.
Final Thoughts on Mastering Chair Yoga
Many yoga studios across the country have classes divided into experience levels, and some even include the chair methods for those with limited mobility. When you have knee pain, you may feel like exercise is not possible.
However, when you learn how to modify yoga and other workout routines, you will discover that you can still get what your body needs without causing you more discomfort.
This ancient exercise has been around for more than 5,000 years and isn’t going anywhere. It’s one path to better health that works well for people from all walks of life.
What is your favorite pose, and do you find the chair yoga helpful to you during times of inflammation and knee pain?