

If you sit at a desk for a large portion of your day, it’s likely that your posture has begun to suffer. The most comfortable sitting and lying down positions can often cause undue harm to the body’s posture, too!
Unfortunately, concerns surrounding bad posture aren’t just about developing a hunched back over the years. Poor posture can also potentially lead to other more difficult conditions, such as chronic back pain, increased injury risk due to bad balance, and even more serious illnesses born from poor circulation.
But don’t worry! Keep your positive thinking! Even with a taxing desk job, you can keep your posture healthy and strong with a few simple poses and positions.
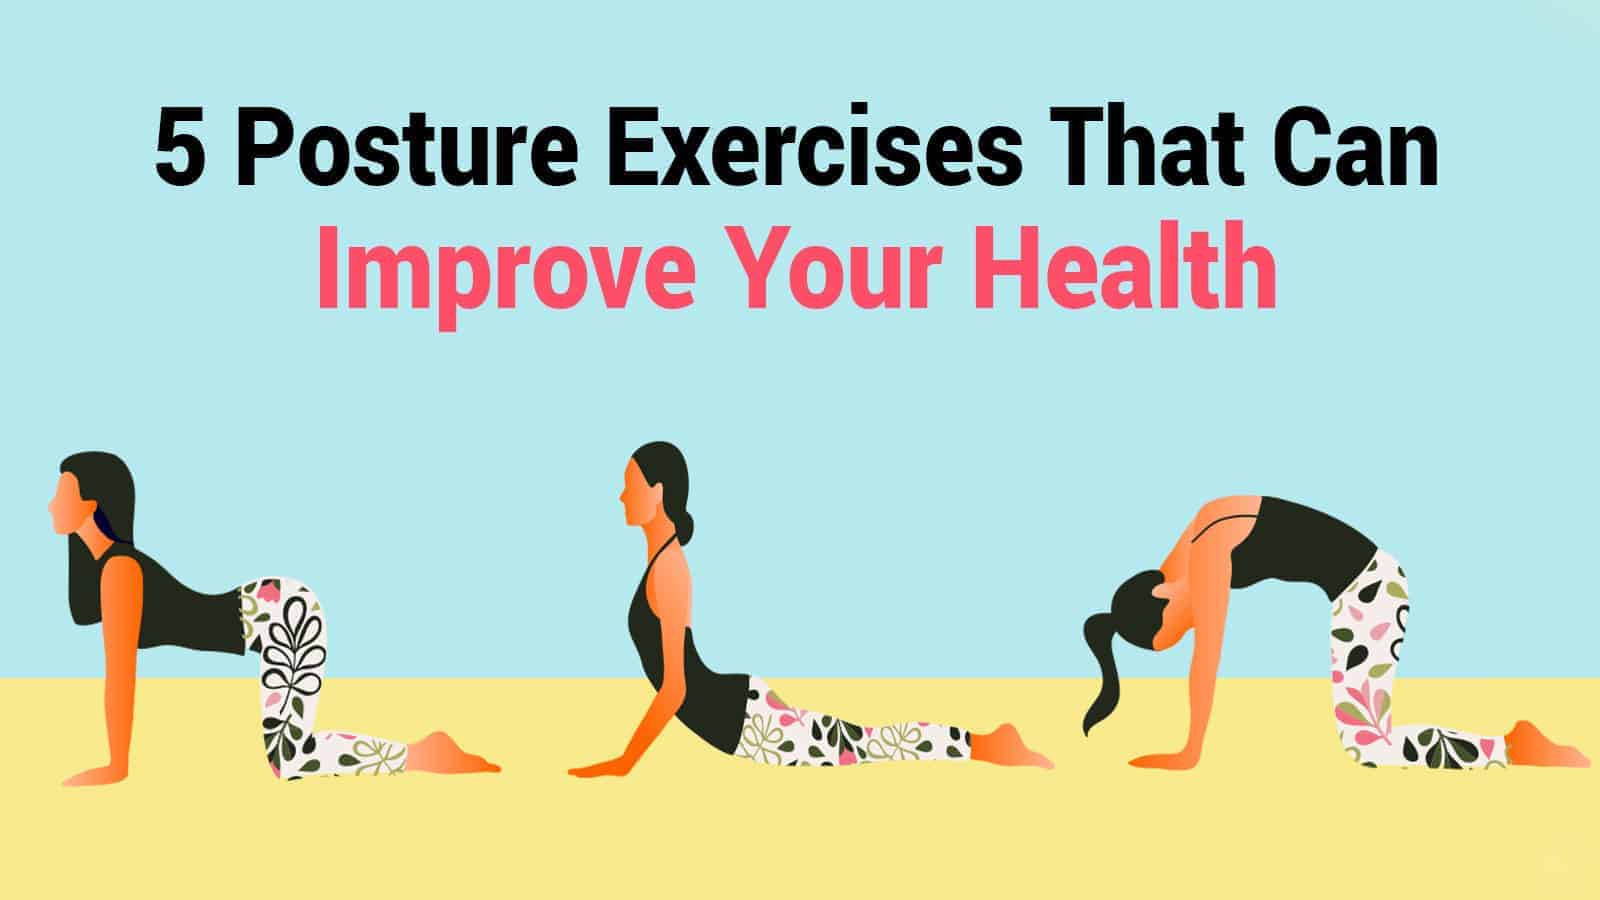
Here are five posture exercises that can improve your health.
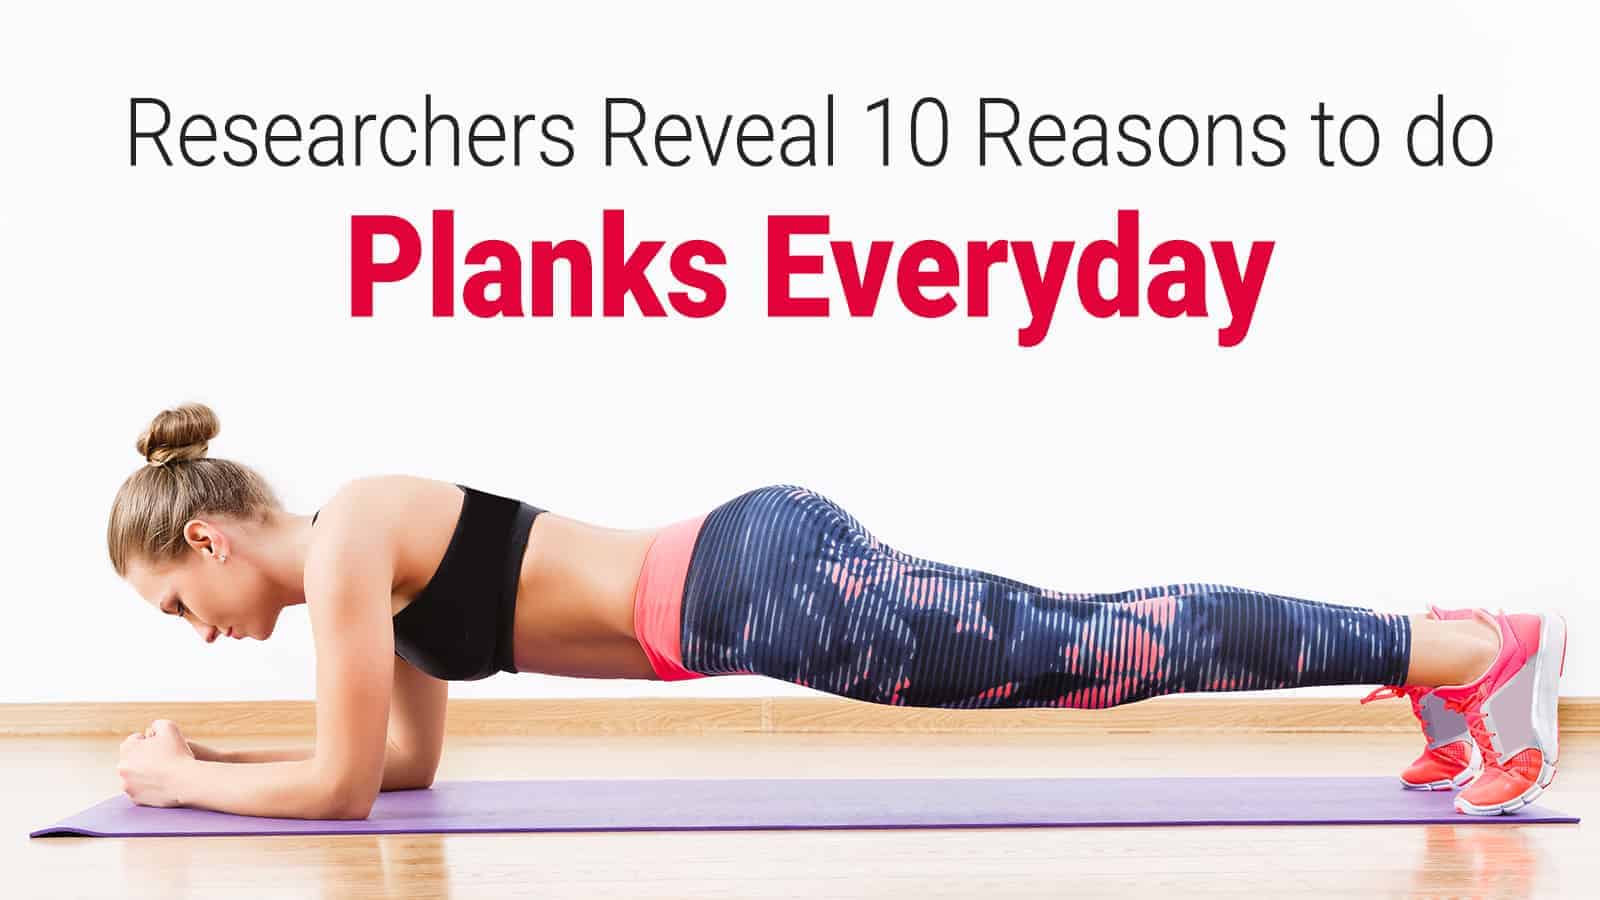
1. Plank
The plank pose is great for strengthening the abdominal muscles, both on the transverse and oblique sides. It’s also great for your back and shoulders. It’s a very simple exercise and provides numerous health benefits, including:
· Posture Improvement
The strengthening of the shoulders, back, and abs will help to keep your back straight even if you spend a lot of time sitting at a desk.
· Muscle Activation
Planks activate many different muscles – more than even exercises like crunches activate!
· Flexibility Improvement
Planks help to stretch out the lower parts of your body, and overall, flexibility provides numerous positive benefits to health, especially as you age, by improving function, reducing injury risk, and bolstering strength. Here’s how to do a high plank:
- 1: Start in a position akin to the beginning of a push-up, with your hands slightly further apart than a shoulder’s width, placed underneath your shoulders.
- 2: Press your toes into the ground, keeping your body steady and balanced by activating your glutes. Make sure your knees are relaxed, not hyperextended, or locked.
- 3: Pick a place on the floor that is around a foot ahead of you and look in that direction to relax and neutralize the spine and neck. Keep your back straight and in a straight line with your head.
- 4: Maintain the position for between 20 and 30 seconds, working your way up gradually with time to holding planks for as long as possible.
- 5: If this is difficult for you, you can use your forearms to rest on during a plank instead of your hands and outstretched arms.
As a bonus, planks can be easily modified to make them easier or harder as desired. For example, you can:
- Do side planks, which engage the oblique abdominals and arms more.
- Touch your knees repeatedly on the ground as you plank, as though walking, to challenge and activate even more muscles
- Add limb extensions for arms and legs to challenge and activate even more muscles.
- Rest on your knees and outstretched arms while planking for an easier exercise
2. Chest Opener
Chest openers, in general, are a common type of pose in yoga, but certain chest opening exercises provide more benefits than others. Desk work can very commonly leave your spine rounded, potentially resulting in the development of certain disorders like kyphosis that limit your mobility and, ultimately, your positive thinking.
A chest opener stretches out your chest, allowing your chest muscles to become stronger, thus boosting posture and lowering the risk of future health and back pain issues. Here’s how to do a basic chest opener!
- 1: Start by standing straight, keeping your feet apart at hip’s width.
- 2: Reach your arms behind you to clasp your hands, lacing your fingers together behind your back. Your palms should be pressed together. If you can’t do this, connect your hands by grasping a towel or similar item.
- 3: Keep looking forward with your head lifted, and your chest opened. Maintain a straight posture, with your spine in a straight line with your head and neck.
- 4: Inhale and lift your chest upwards as you push your hands towards the ground and away from you behind you. You should feel the stretch on your chest.
- 5: Maintain the position for a count of 5 breaths. Release and repeat as desired.
- 6: You can also do this while sitting down on a chair, as long as you keep your back straight when you do it!
3. Cat / Cow Pose
The cat/cow pose is a common yoga pose that helps work out the whole body. It’s a great way to stretch your muscles all over the body, including in your shoulders, neck, and torso, reducing overall stress and correcting posture.
On top of that, the cat/cow combination can help boost blood circulation. Healthy blood circulation is paramount to overall health, allowing for better immunity, organ health, and muscle strength – and a positive posture can help to achieve that, while this series of poses helps boost it further! Here’s how to do the cat/cow pose:
- 1: Start on all fours, balancing your weight evenly on all limbs.
- 2: Inhale deeply, looking up as you do so. Allow your abdomen to drop downwards towards the floor and focus on stretching your spine.
- 3: Now, exhale deeply, tucking in your chin to look down and rest against your chest as you do so. Allow your spine to arch upwards.
- 4: Repeat, inhaling, and exhaling, for about 60 seconds.
Need assistance from a chair?
You can also opt to do this while sitting on a chair to make it less potentially taxing on the limbs. Here’s how:
- 1: Start by sitting up straight, resting your hands on your knees.
- 2: Inhale deeply, looking up as you do so. Allow your chest to lift and puff outwards and upwards.
- 3: Now, exhale deeply, tucking in your chin to look down and rest against your chest as you do so. Allow your back to round.
- 4: Repeat, inhaling, and exhaling, for about 60 seconds.
- 5: You can also opt to do this while standing, with your knees bent and hands resting on your thighs.
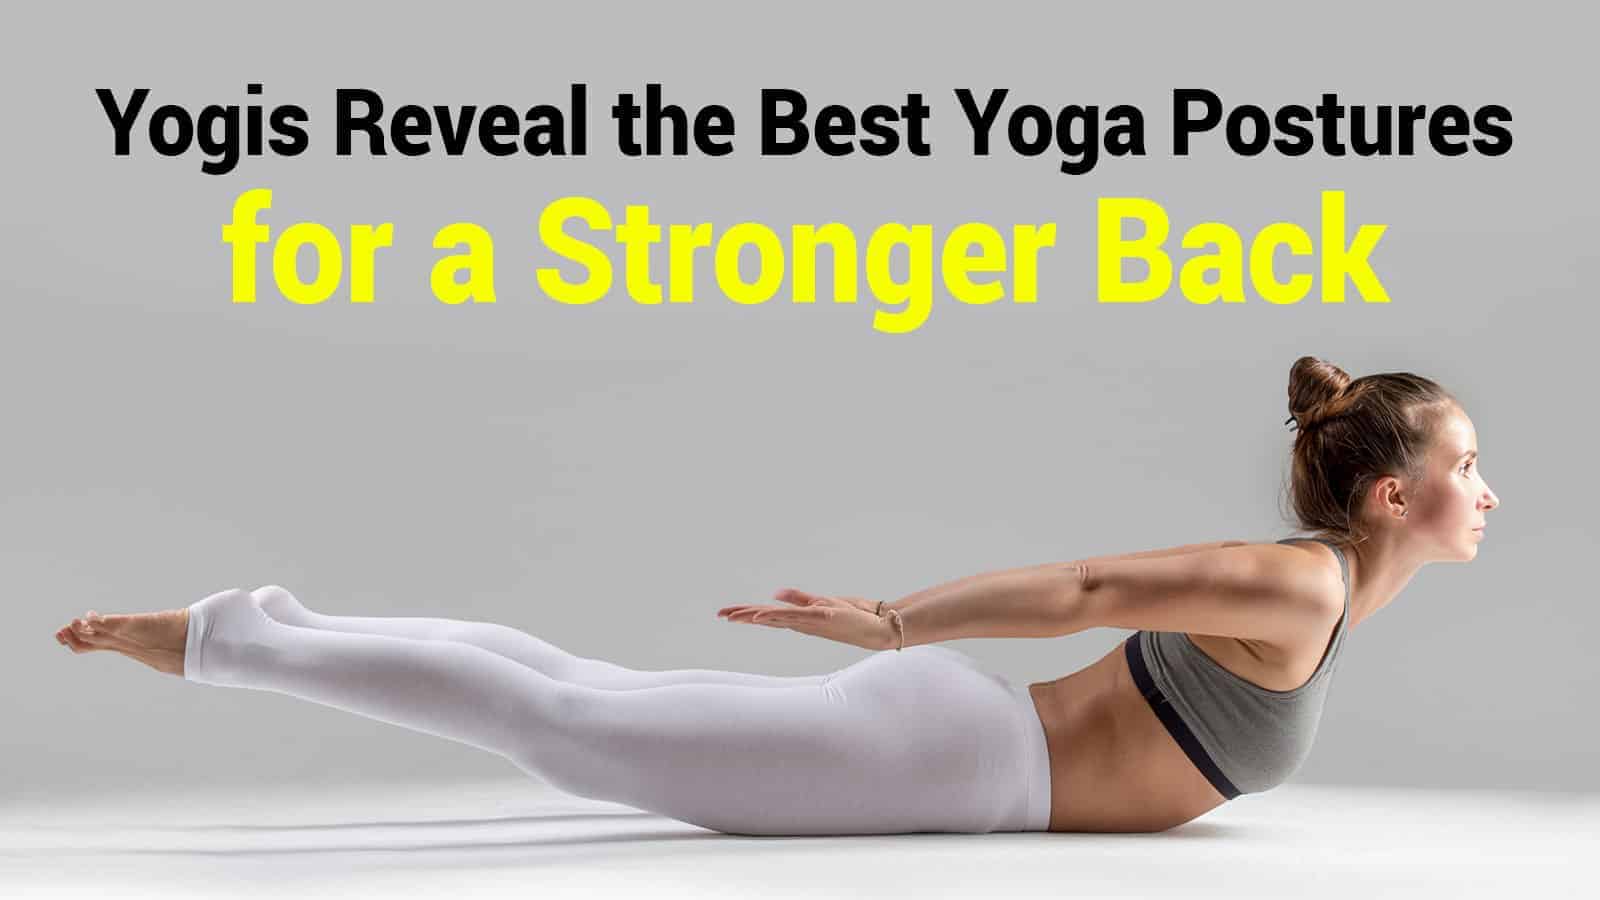
4. Cobra Pose
The cobra pose is another yoga pose, primarily focused on strengthening the muscles of the spine known as the erector spinae. These muscles, as well as some other lower back muscles, that the pose engages, extend the spine, and help prevent you from falling into the habit of slouching naturally.
When done correctly, the cobra pose stretches the spine and provides added strength to the lower abdominal muscles and the pelvic muscles, and your feet and legs will also receive minor benefits. All in all, there’s a lot to be gained from this pose! Here’s how to do it:
- 1: Start by lying on your stomach, with your legs straight behind you. Your palms and the tops of your feet should be pressed into the ground – the former resting somewhere near the ribs. You may also begin in a plank position if you’re looking for more of a challenge.
- 2: Exhale deeply and engage your abdominal muscles, raising them upwards and inwards towards your spinal muscles.
- 3: Stretch and extend your spine as you lift your chest and head off the ground or upwards from their current position. Use your back muscles, not your arms, to do this, and make sure your hips stay on the ground.
- 4: Relax your neck, looking down if it helps, and lower yourself back to your starting position.
- 5: Repeat up to five times, then gradually increase your repetitions as your body becomes stronger.
- 6: To make the move even harder, extend your arms next to you, elbows straight, instead of planting them beside you.
Do note that the cobra pose is not suitable for everyone.
Those with back problems, such as spondylolisthesis or any issues with the lower back and facet joints, should consult their relevant medical professional before performing this pose. Less taxing variations of the pose can be performed if desired. Examples include:
- You are pushing your shoulder blades backward, down your back, to provide additional upper spinal support.
- Planting your forearms on the floor instead of your hands, allowing you to rest on your arms. Keep your elbows beneath your shoulders as you do so to better control your motions.
- Do a “mini” cobra pose, where you reduce the amount you lift your chest off the ground, keeping your elbows bent instead of stretching them out to full length.
- Finish with a lower back stretch of a gentle nature to help balance out the muscles and relax them after the intensity of the pose.
5. Cactus Arms (Mountain Pose)
Cactus arms are taken from a variation of a yoga pose known as the Mountain Pose. The pose in question merely involves standing straight, but it has a number of variations involving arm positioning. One such variation involves the holding out of the arms out in a goalpost-like pose, so you resemble the silhouette of a cactus.
This pose is extremely simple and is a non-taxing form of exercise that virtually almost anyone can do. It’s commonly used as a warm-up pose, so it’s not a bad option to start with this exercise before moving into the other ones. Though gentle, it still has benefits, exercising your upper back muscles and arms. Here’s how to do it:
- 1: Start by standing or sitting with your back straight.
- 2: Inhaling deeply, raise your arms upwards towards the sky.
- 3: Exhaling deeply, bend your elbows down to a 90-degree angle in the goalpost position.
- 4: Pull back your elbows and lower your shoulders, as though you’re squeezing something between the blades of your shoulders. Your chest should be raised upwards as you do so.
- 5: Release the pose.
- 6: Repeat the exercise up to 10 more times.
Final Thoughts On Some Exercises That Can Improve Your Health
Good posture is important to health, and that’s why doing posture exercises can be so beneficial to you. Even if you think your posture is okay, and even if you don’t work a desk job, there’s no harm in adding these moves to your daily routine or workout. It’s better to be safe than sorry!
Of course, if you have back, joint, or similar pain issues, you should speak to a doctor or relevant medical professional first before doing any of these exercises. The chances are that if you can’t make these moves, your doctor can suggest safe ones for you!