

Are you looking for a lifestyle that will shred your belly fat – and keep it from returning.
Nowadays, fitness and science are two peas in a pod. While some fitness buffs may think they’ve chiseled their physique all on their own, the odds are that they’ve had some help.
Exercise science, or the study of physiology during physical activity, has advanced as quickly – if not more so – than other cutting-edge medicine.
In short, fitness owes a lot to the brains behind the brawn – the minds being diligent scientists, researchers, and fitness buffs savvy enough to know a good thing when they see it – and distributing this valuable information.
“The popularity of high-intensity interval training is on the rise. High-intensity interval training sessions are commonly called HIIT workouts. This type of training involves repeated bouts of high-intensity effort followed by varied recovery times.” ~ American College of Sports Medicine
‘HIIT’

Over the last two decades, high-intensity interval training (HIIT) has been all the rage. HIIT, for the unaware, is a method of exercise involving periods of rigorous activity with small breaks in between.
Per the American College of Sports Medicine (ACSM), HIIT training has been shown to improve:
- Aerobic and anaerobic (muscular) fitness
- Blood pressure
- Cardiovascular health
- Insulin sensitivity (helping the muscles being exercised more readily use glucose for fuel.)
- Cholesterol profiles
- Belly fat and body weight
- The maintenance of muscle mass
Why is HIIT so popular?
“No pain, no gain? The American College of Sports Medicine (ACSM) surveyed more than 4,000 fitness professionals, and the results are in: High Intensity Interval Training (HIIT) is forecast as next year’s most popular trend in fitness.” ~ BusinessWire
HIIT is immensely popular – and there are many reasons why. Here are just a few: according to ACSM, HIIT is:
- Modifiable: HIIT training can be easily modified for people of all fitness levels and special conditions. For instance, it’s effective for those with diabetes, have belly fat, or hope to lose weight.
- Flexible: People can introduce their favorite activity – cycling, swimming, cross-training, walking, etc. – into a routine.
- Produces quicker results: HIIT workouts provide benefits similar to endurance workouts but in shorter periods. Additionally, the frequency in which one exercises can be curtailed with the right routine.
– ‘EPOC’: EPOC is short for excess post-exercise oxygen consumption. During this period (about 2 hours), the body restores itself to pre-exercise levels; burning calories at a 6-15% faster rate.
The last two – along with the ‘endorphin rush’ – is what keeps people coming back for another HIIT.
What program is right for me?
We’ve seen a proliferation of HIIT methods. The ‘Beachbody program,’ ‘p90X’, and ‘Insanity’ are all variations of HIIT. But long before these commercially popular programs was the ‘Tabata Regimen,’ named after it’s founder Professor Izumi Tabata.
Some say that other widely-successful HIIT programs are the secondary products of Tabata’s work.
The Tabata Regimen, more commonly referred to as ‘The Tabata Workout,’ stands out for several reasons. First, it’s free. You can pay 99 cents for a Tabata app (usually a timer), but there is no profit scheme. Second, it’s well-rounded. There is a blend of exercises you can incorporate into a Tabata workout. Third, it’s fast. There’s the one you’ve been waiting for to manage that belly fat, right?
But a fair warning. While the Tabata method may be short, it’s intense.
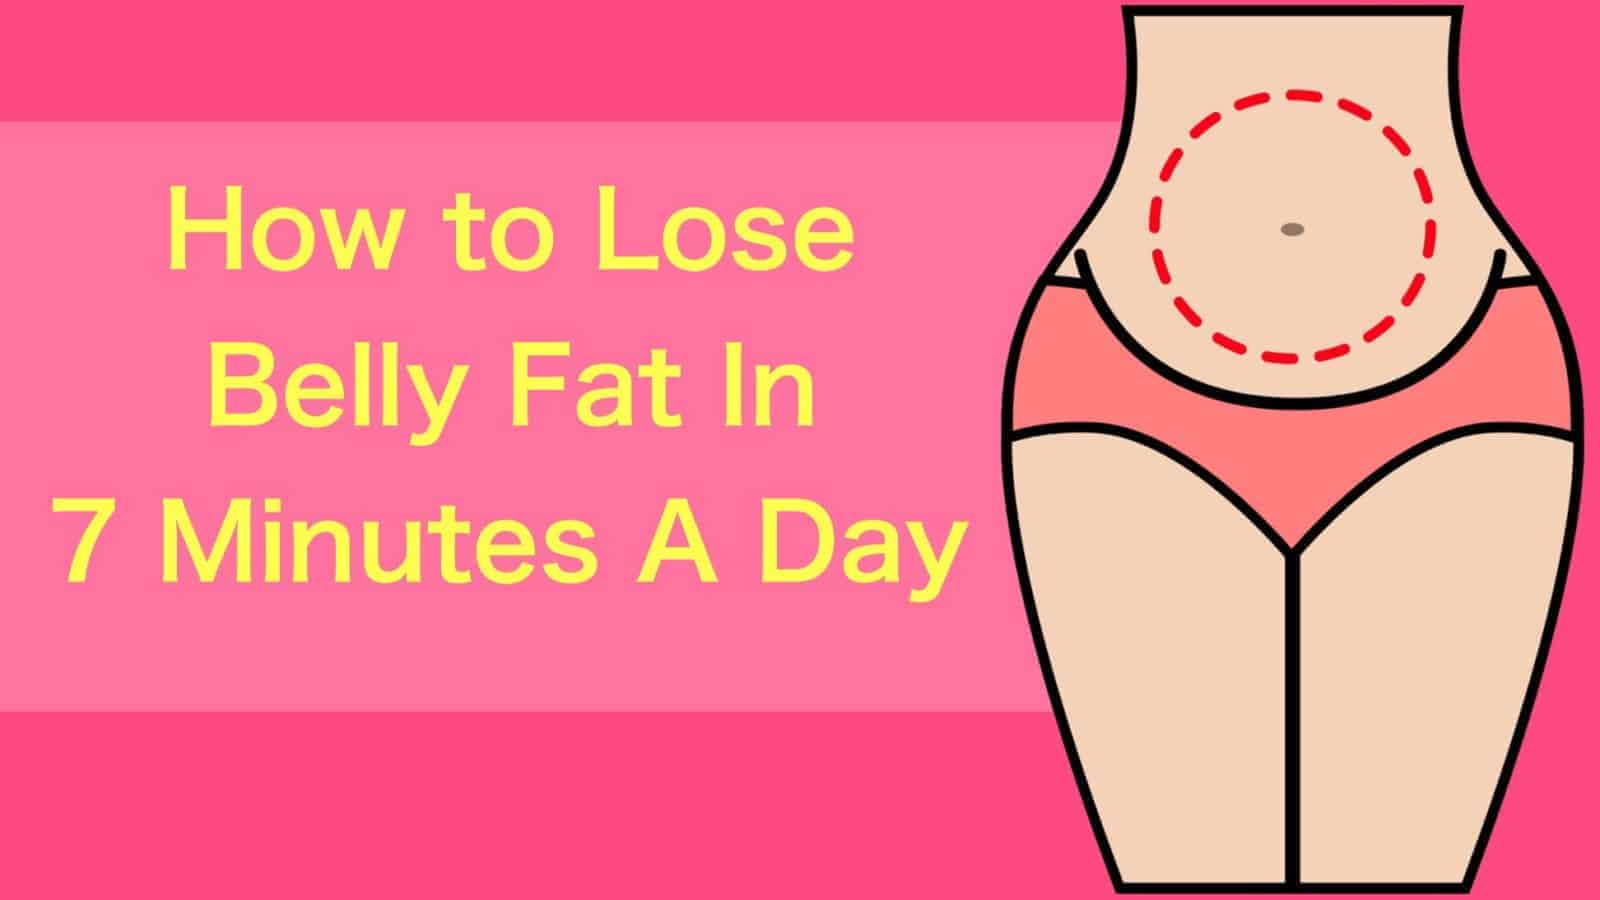
How to Lose Belly Fat In 7 Minutes A Day: ‘The 7-Minute Tabata’
Now we’re getting down to brass tacks. If you skipped to this portion, read the information about high-intensity interval training. The above sections contain important information about HIIT, it’s effectiveness, and why the Tabata workout differs.
In other words, the preceding sections are motivators.
Here, ladies and gentlemen is the 7-minute Tabata routine to melt belly fat:
One important note: make sure to go through, at a minimum, a light stretching routine for your neck, torso, groin, hamstrings, flexors, and calves.
Do each belly fat melting move at near-maximum (95%) intensity for precisely 20 seconds. Take a 10-second rest between exercise. (Tip: Focus on taking deep breaths!)
- Jumping jacks: Just like you did them in gym class, only correctly this time. Try and maintain good form throughout the movement.
- Wall sit: With your back against the wall, lower yourself to the point where your thighs form a 90-degree angle with your calves. Hold for 20 seconds.
- Push up: As best you can, keep your back straight throughout the movement. Lower your torso until it is about 3-6 inches from the floor. Feel free to do them on your knees until you gain the necessary strength.
- Abdominal crunch: Lying on your back, straighten out your arms. Then, while keeping your arms straight, lift your upper body until you feel a slight tightness in your abdominals.
- Squat: Standing with your feet shoulder-width apart, and toes turned slightly out, slowly bend your knees and drop your hips. At the bottom of the movement, pause, and then forcefully push back up to the starting position.
- Tricep Dips: Position your hands shoulder-width apart using a bench or stable chair. Slide your butt off the front of the bench with your legs extended. Straighten your arms, keeping a little bend in the elbows. Slowly bend your elbows to lower your body toward the floor the elbows are at a 90-degree angle. At the bottom of the movement, press down onto the bench (or chair) and return to the starting position.
- Plank: Get in the pushup position; only put your forearms on the ground instead of your hands. Squeeze your glutes and tighten your abdominals, and keep a neutral neck and spine. Create a straight, strong line from head to toes – a plank, if you will. Hold for 20 seconds!
- High Knees: Ever seen a sprinter run? Same concept here, but you’re adding another degree of difficulty: high knees! Start by standing hip-distance apart. Start off by jogging as your normally would; transition to a run; and lift your knees.
- Lunges: Keep your upper body straight, with your shoulders back and relaxed and chin up (pick a point to stare at in front of so you don’t keep looking down). Step forward with one leg. Then, lower your hips and bend both knees at about a 90-degree angle. Switch legs.
- Step-up: Start by placing your right foot on a bench or chair. Press through your right heel as you step onto the bench, bringing your left foot to meet your left so you are standing on the bench. Return to the starting position by stepping down with the right foot; then the left so both feet are on the floor.
- Side plank: Place forearm on the floor (a mat helps) under shoulder perpendicular to the body. Place upper leg directly on top of the lower leg and straighten knees and hips. Raise body upward by straightening the waist so the body is ridged. Hold the position for 20.
- Mountain climbers: Assume a push-up position with your arms straight and your body straight from your head to your ankles. Then, without changing the posture of your lower back (it should be arched), raise your right knee toward your chest. This movement should be done quickly.