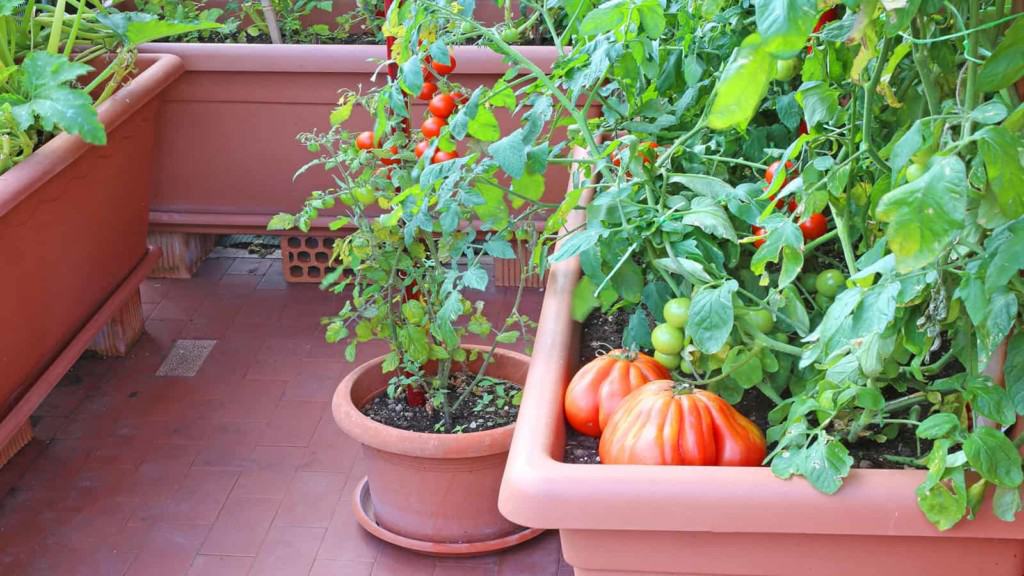


Do you like peppers and tomatoes? Or any other kind of vegetable? Are you willing to put forth a bit of effort to have your very own mini farmers’ market? If so you’re in luck! Here we’re going to tell you how to create your very own self-watering bucket – or if you wish, buckets – that will enable you to grow both vegetables.
We’ll first cover some basics of the technology before providing you with step-by-step instructions for creating the bucket.
Let’s do this!
The sub-irrigated planter (SIP) system
The sub-irrigated planter (SIP) system is a means of watering flowers or plants from beneath the soil line (hence the “sub” in “sub-irrigated.”) As you will see, SIP water filters upwards using capillary action (essentially defying gravity!) and saturates the plant from the bottom up.
Among those who utilize SIPs are commercial landscapers, horticulturists, and gardeners. There are several benefits to a SIP. First, the watering process is automated, which reduces labor cost or effort. Second, no electric power is required; this reduces both overhead costs and environmental footprint. You can keep these buckets wherever a water source is present. Third, space is freed up by eliminating the need for expensive equipment like hoses, pumps, and timers.
In other words, the SIP system is a beautiful example of a self-sustaining, make-it-at-home project that can save money, feed the family, and give you something fun to build! For craftsmen and craftswomen who have yet to foray into the world of gardening, this project may just entice you enough to get your green thumb on!

First, a few things to keep in mind before getting the project underway:
#1 – The mix must be soilless.
The growing medium mentioned by the builder is Pro-Mix BX with Mycorrhizae, consisting of “Canadian Sphagnum peat moss, Perlite, Vermiculite, dolomitic limestone, wetting agent, and Mycorrhizae.” Peat products that include coconut coir or some other soilless mix may also work. Per the instructions, “the addition of perlite and dolomite lime is recommended.”
#2 – The grow bags must be porous.
Do you use recyclable grocery bags? These serve as the perfect “grow bag.” A grow bag holds the growing mix and, eventually, the tomato and potato plants. Manufactured from polypropylene, these bags are durable, large, and porous. Polypropylene grow bags last a long time and will not rot or fall apart. Critically, these bags will drain excess water and supply the roots with plenty of oxygen. Porous grow bags also cause the plant roots that grow through the fabric to dry out and die, thereby serving as a natural root pruner. According to the original builder, this “air pruning” mechanism enables the growth of “fine feeder roots,” which “leads to better nutrient and water absorption and promotes accelerated plant growth.”
#3 – Get a kitchen colander.
A plastic kitchen colander (strainer) is needed as it will support the bottom of the grow bag and create a shallow water reservoir. The dimensions of most strainers make them perfect for this use. The colander needn’t fit perfectly – it can be trimmed with a sturdy pair of gardening shears (more on this later.)
#4 – A 5-gallon bucket is best.
While you could use a smaller or larger bucket, doing so will make the forthcoming instructions harder to follow. The 5-gallon size allows plenty of room for both the grow bag and water reservoir. For extra points, look for the initials “HDPE” on the bottom of the bucket, indicating that the plastic is safe for growing vegetables.
Necessary Materials
Here’s a list of what you’ll need (see below for tools):
– A five-gallon plastic bucket
– ½” rubber grommet
– 10” plastic colander
– Recyclable fabric shopping bag
Tools
– Electric drill
– ¾” step drill bit
– Heavy shears to trim the colander (if necessary)
Construction Steps
- Drill 3/4” holes alongside the bucket at 6” by 6” intervals starting from the bottom. Remember to drill enough holes to allow for generous airflow which, along with the polypropylene bags, provide aeration to the root system. (There should be a total of 6-8 columns of holes; each column with 3-4 holes from top to bottom, depending on the bucket’s dimensions.)
- Besides the rows and columns of holes for aeration, there will be just one other hole – and that’s for the water reservoir mechanism. For this, you’ll want to affix the grommet and drill with the step drill bit somewhere along the very bottom. (Per the original instructions, there is no one designated point.)
- Insert a ½” hose fitting to the grommet. The seal should be of watertight quality.
(Note: Depending on how you connect your buckets, your fitting may differ. Half-inch fittings are standard and are available from suppliers of hydroponic accessories.)
- Place the plastic colander into the bucket; trim to fit if necessary.
- Place the recyclable bag inside of the bucket. Allow the handles to fall alongside the bucket or – if preferred – trim them off.
- Plug the fill hole and add water to the bottom of your bucket and begin adding your growing mix.
- Fill the bucket in layers, soaking each layer thoroughly to trigger the wicking property of your soilless mix. Again, do not use a dry mixture as it will not work.
- Add a layer of slow-release organic fertilizer to the bottom layer of the growth mix.
- Add an additional layer of compost near the top.
- Continue adding layers of grow mix and wetting them down thoroughly with water.
- Cover the bucket by affixing a plastic sheet. This is added to minimize water loss via evaporation.
- Cut slits in the plastic for planting.

Final Thoughts
If you’d like to grow more tomatoes or peppers than is possible with a single bucket, you can do so. Just remember that each bucket must have enough space between them to allow sufficient air flow. Per the original builder, “Overcrowding impedes ventilation and promotes the spread of fungal disease and blocks light transmission within the plants.”
Additionally, you will need other supplies to create this closed-loop system including a water barrel reservoir, brass house faucet with fitting, hose fitting, and float valve regulator. Please refer to the original instructions for design schematics.