


Craft time allows you to slow down and enjoy the simple things in life. It can help take your mind off stress for a while and tune back into yourself. Whether you’re making crafts with family, your significant other, or yourself, it’s an enjoyable pastime for the artsy folks out there.
Today, we’ll show you how to make a homemade ocean in a bottle. If you can’t go on a trip to see the ocean, you can bring it to you instead! It only requires a few tools and a little time. So on your next free afternoon, we hope you’ll try out this fun project. Note that this will involve several ideas using glass bottles; make one or all of them if you’re feeling extra creative!
How to make an ocean in a bottle (fun craft time project)
Are you ready to start? Let craft time begin!
Tools you’ll need:
- Cutting mat
- Piece of blank white paper
- Coffee (this will make sense in the directions, trust us!)
- Piece of cotton or a cloth
- Tealight candle
- Piece of twine
- Three tall glass bottles
- White sand
- Spoon
- Seashells
- Blue food coloring
- Water
- A bottle of baby oil
 How to make a message in a bottle:
- First, grab your cutting mat and place the sheet of paper on top. Have your coffee and cotton/cloth handy as well.
- Next, dip the cotton ball or cloth into the coffee cup. Start rubbing the coffee on the piece of paper until it’s thoroughly coated. However, don’t put so much that it causes the paper to disintegrate. Place a thin layer on it, and let it dry for a few minutes.
- After it’s dried, write a note on the paper to make a “message in the bottle.” When you’re finished, burn some of the edges on the paper to add an old, weathered effect.
- If you want, place the paper slightly over the candle to add burn marks to the page. This will give a “lost at sea” feel to the whole thing. When you’re done with this step, the paper should look very tattered and worn.
- Next, dip the bottom of your coffee mug in water and place the imprint on a corner of the page. This is just another way to add some pizzazz to this fun craft time project!
- Now, roll up the wrinkled paper very thinly. Tie a piece of twine around it several times, and finish it off with a bow. Cut off any loose ends.
- Finally, grab one of the glass bottles and scoop a few spoonfuls of sand into the bottom. Next, add several seashells and your message on top. Seal it with a cork and enjoy this timeless craft idea! Place it on a shelf or table to decorate your home.
Making an ocean in a bottle for your craft time
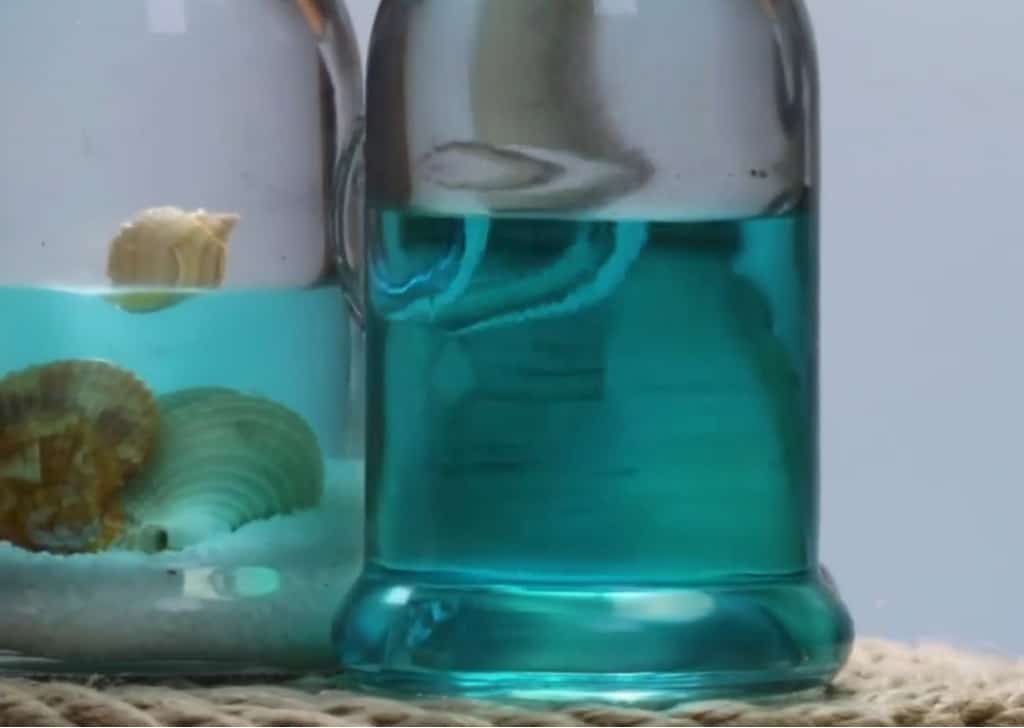
- Now grab your other glass bottle and fill it about halfway with water. Next, add a couple of drops of blue food coloring. Stir with a long stick or spoon.
- Next, fill the rest of the glass with baby oil. The oil will sit on top of the water since water and oil don’t mix. Shake it up, tilt it around, and marvel at your very own ocean in a bottle!
How to make a sandy beach in a bottle
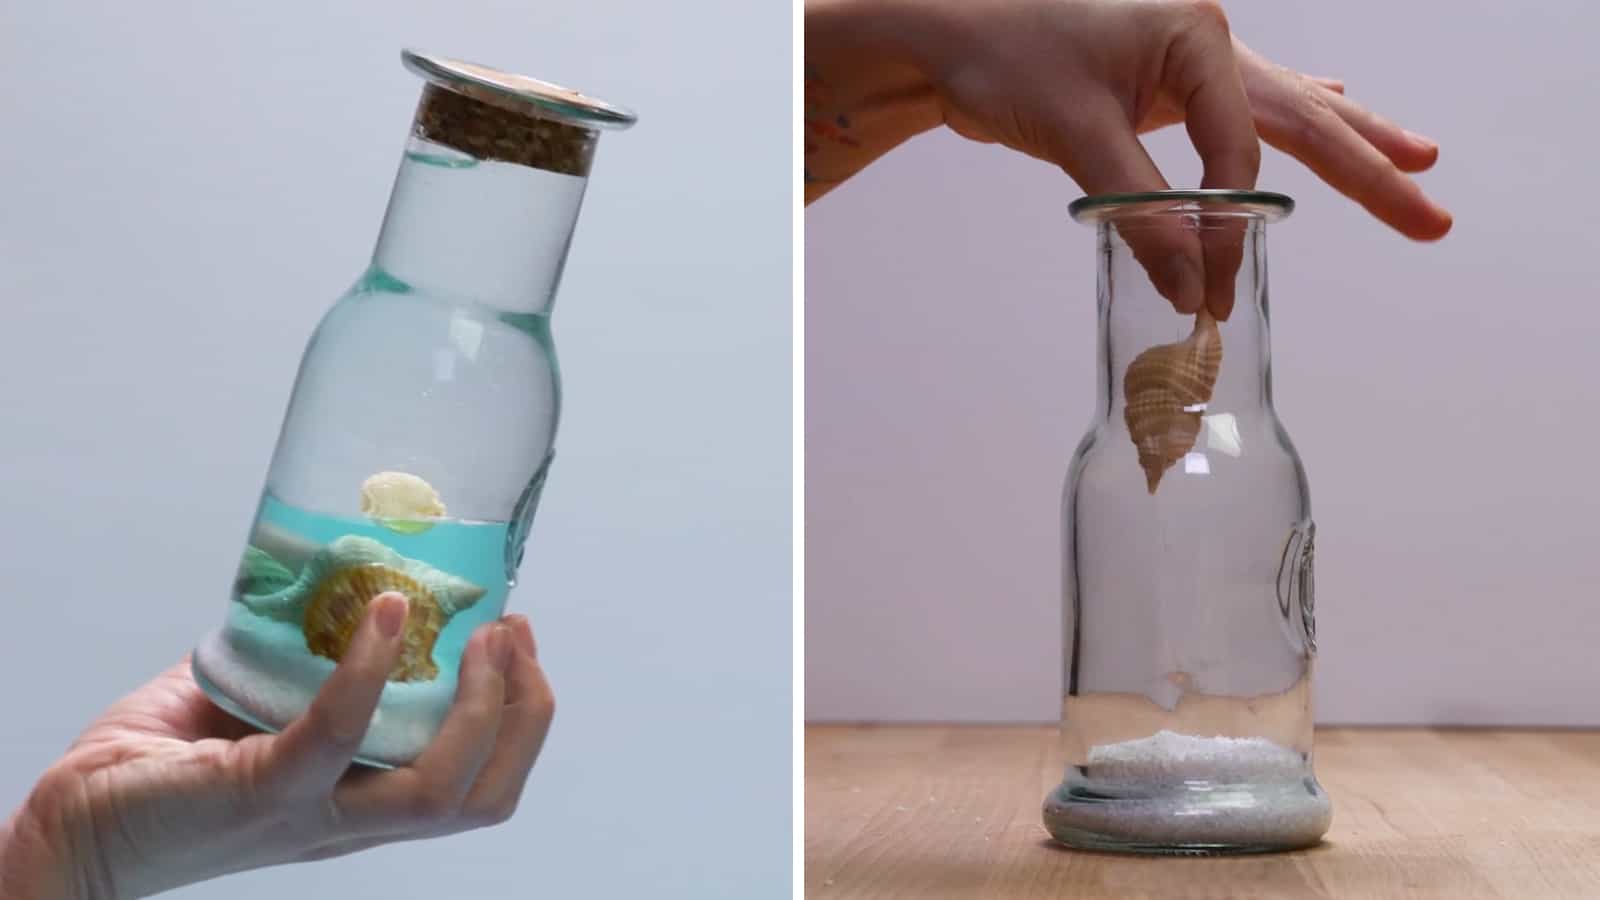
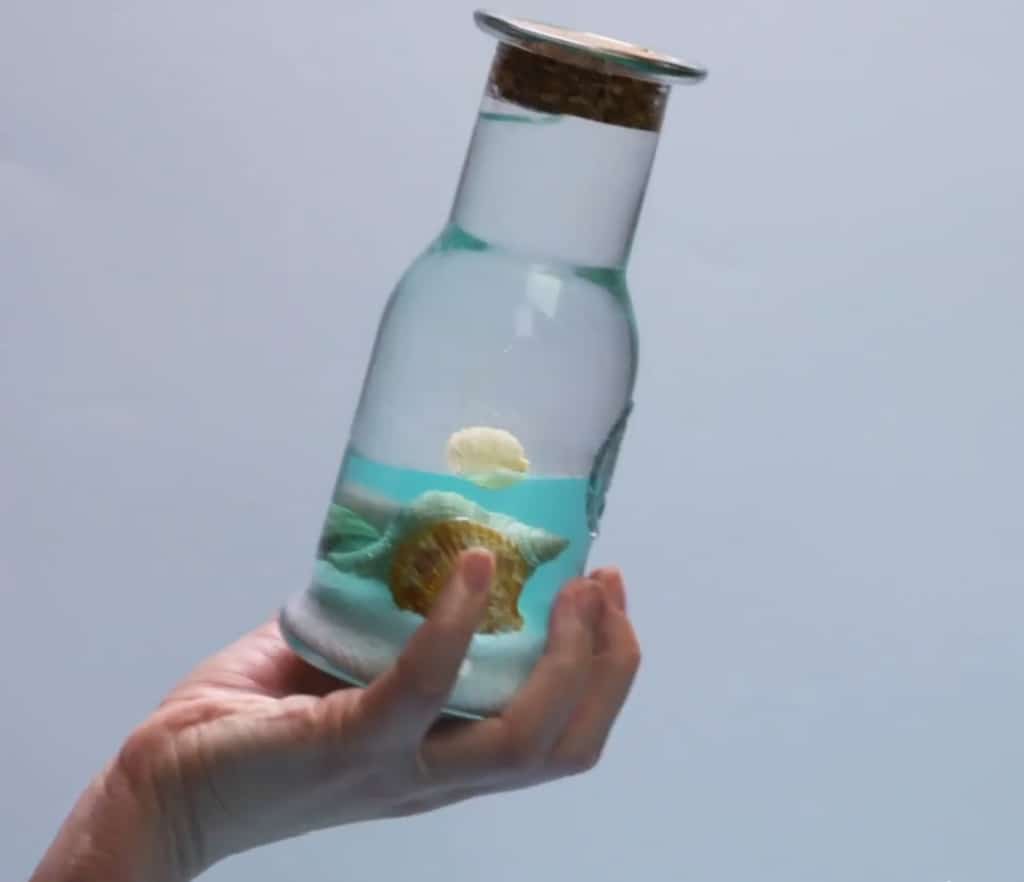
- You guessed it – get out your third glass bottle for this next craft time Add a little sand to the bottom, along with several more seashells.
- Fill it up about 1/3 of the way with water, and add the blue food coloring. Stir it with a long stick or spoon, being careful not to disturb the sand.
- Fill up the rest of the bottle with baby oil, and seal it with a cork. No matter which way you turn the bottle, the sand will always return to the bottom. (Remember those bath toys you used to play with as a kid? This is the same concept in an adult version!. You can even place a small toy ship or fish inside to maximize the beach vibe for funs.
Making a centerpiece with the bottles
 What you’ll need:
- A piece of rope
- Hot glue gun (you can find one at Glue Guns Direct shop)
- Small piece of cardboard, cut into a circle
Directions:
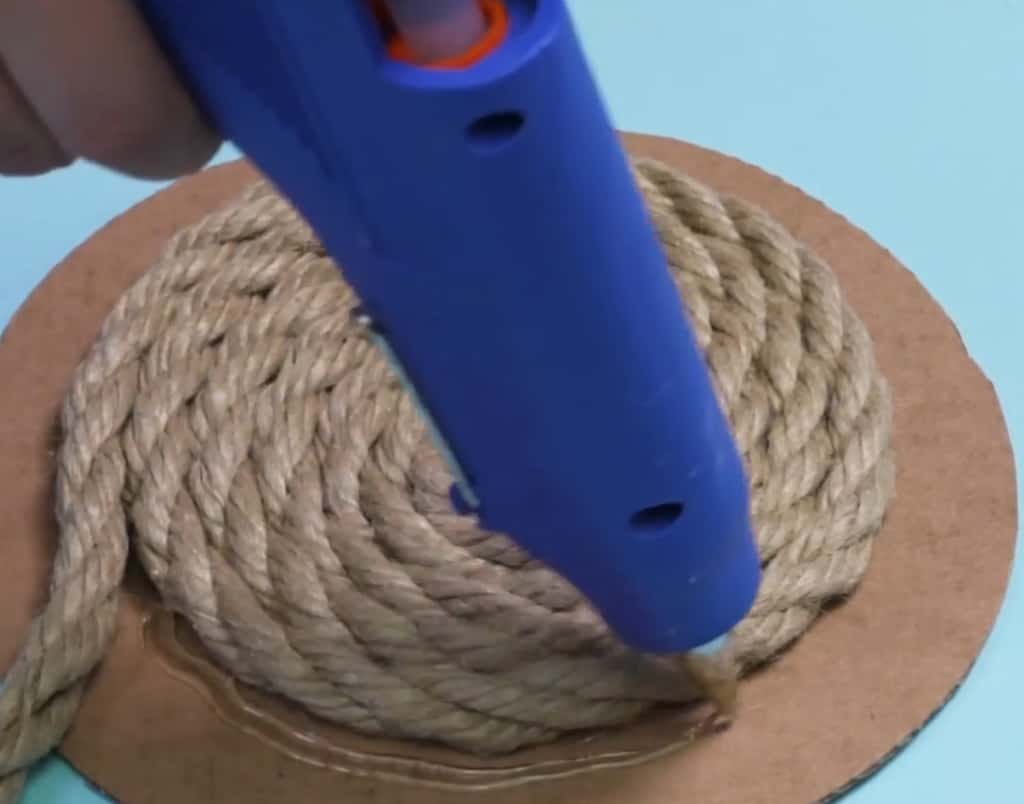
- First, place a dollop of hot glue in the middle of the circle. Press the end of the rope firmly in the center.
- Then, start wrapping the rope around the center to create a spiral. Add glue as you go, remembering to press down firmly.
- As you work your way around the circle, make sure you don’t leave any open spaces. When you’re finished, cut off any excess rope. Place your three bottles on top, and enjoy this beautiful, tropical centerpiece!
Tips for making this craft time project amazing
- If you want to add something to the plain ocean in a bottle, please feel free! As we said above, some ideas include a small toy ship, fish, or other marine life. You could even place coral or seaweed at the bottom to give it a realistic feel.
- Perhaps you have always dreamed of sending off a message in a bottle to some faraway land. Use this craft time project to turn that dream into reality! If you live near a beach, place it in the water and watch it float away. Who knows where it will end up?
- Have kids? Use this as an opportunity to teach them the science behind why water and oil don’t mix. (Hint: water is denser than oil, so that it will sink to the bottom).
 Final Thoughts: These craft time projects will make you feel like a kid again
If the world seems stressful lately, why not escape with these fun craft projects for a while? Everyone needs a break from responsibilities sometimes, and there’s nothing like the ocean to take your mind off things. You don’t always need to travel to the ocean to relax, though. Create it in the comfort of your home with these beautiful ocean in bottle ideas. If you decide to make them, please share the finished product with us!