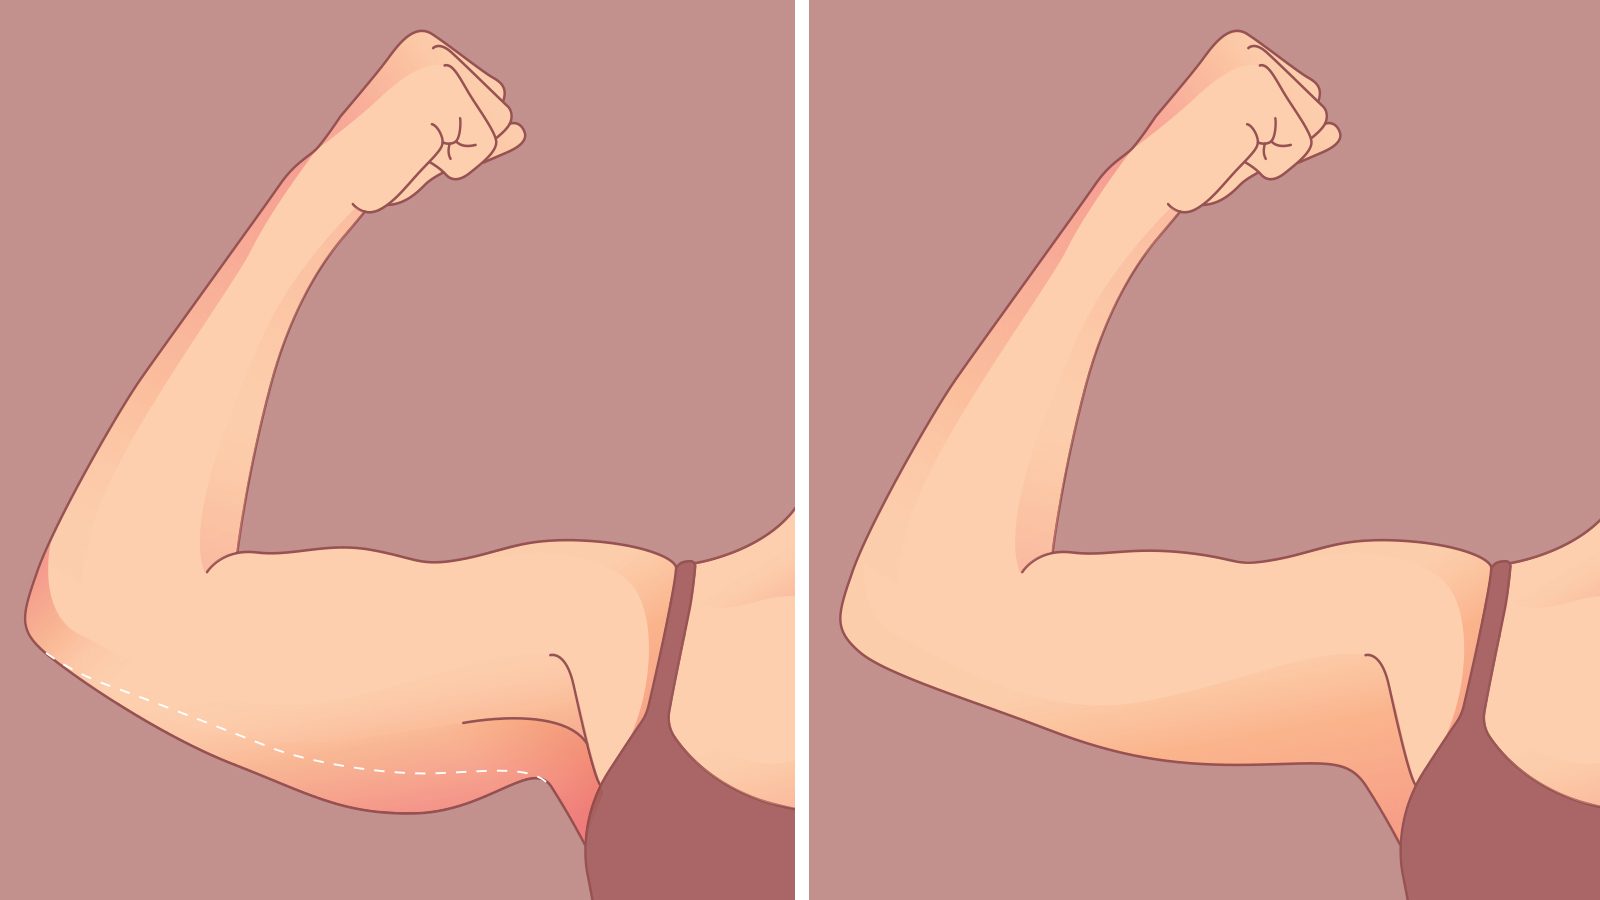


Melting arm fat is possible by doing regular biceps exercises. Not only does it melt fat, but it also results in toned arms and strengthened muscles. Melting fat can be tricky, especially when targeting specific areas. Luckily, you can try these biceps exercises to help you achieve your desired results.
There are many exercises you can try that target the biceps. However, you can’t do spot reduction. You must work out all muscles to burn fat and tone your body.
Identifying Your Biceps and Their Functions
The biceps are the two sections of muscles between your elbows and shoulder. They consist of a long and short head, but they connect at your elbow. Some of the functions of these muscles include the following:
- Bending and extending your arm
- turning your arms to make your palms face upward or downward
- lifting and pulling
- supporting the shoulder blade when carrying things
As you work on melting arm fat with biceps exercises, you’ll want to target different parts of the muscles. Doing a few of the workouts discussed below can help you get the most out of the exercise.

Ten Biceps Exercises to Melt Arm Fat
These biceps exercises can help you melt fat and experience toned arms. Toning and strengthening also help burn calories and lose or maintain weight. You can do these exercises at home, with some requiring no equipment and others needing dumbbells or resistance bands.
1 – Arm Circles
This exercise can help burn fat while toning and shaping your arms. You can use weights, but you don’t have to. Another option is to hold a water bottle in each hand while doing the circles.
- Start by standing with your feet shoulder-width apart.
- Extend your arms straight out to your sides at shoulder height.
- Do ten to fifty small circles by rotating your hands forward.
- Then do another ten to fifty small circles backward.
2 – Isometric Biceps Hold and Pulse
This exercise requires constant tension in a contracted position until it leads to muscle fatigue or burnout. Reaching muscle fatigue helps melt fat and strengthen or grow muscles. Isometric biceps hold and pulse requires two dumbbells.
- Stand with your feet hip-width apart while engaging your core.
- With your palms facing outward, place your hands at your sides while holding a dumbbell in each hand with an underhand grip.
- Lock your elbows by your sides, and curl your arms to a 90-degree angle.
- Keeping your arms at a 90-degree angle, squeeze your biceps while moving the dumbbells an inch back and forth in each direction.
- Continue this exercise until your muscles get fatigued, making sure to keep your shoulder blades down.
3 – Biceps Curls with Dumbbells
With this exercise, you’ll need dumbbells or bottles filled with water. Here’s how to do it:
- Stand straight with your chest up.
- Place your arms at your sides with your palms facing forward, holding a dumbbell in each hand.
- Keep your upper arms still while curling your weights toward your shoulders by bending your elbows.
- Return to the starting position, and repeat the movements as much as possible.
4 – Crossbody Alternating Curl
Once you’re comfortable with the biceps curls, you can challenge yourself with the crossbody alternating curl. Here’s how:
- Standing with your feet shoulder-width apart, hold a dumbbell (or end of the resistance band) in each hand at the front of your thighs.
- Tighten your elbows to your ribs, and keep them there throughout the exercise.
- Raise your right hand to your left shoulder.
- Return to the starting position, and raise your left hand to your right shoulder.
- Repeat this movement until your muscles get fatigued.
5 – Plank Up-Downs
This exercise targets your biceps, triceps, shoulders, and core. It helps melt fat and tone your muscles.
- Place your palms flat on the floor and use your toes to hold up your lower body.
- Your spine should be straight, your knees flexed, and your neck in a neutral position.
- Shift your upper body support to your left palm, and make a fist of your right palm.
- Bend your right elbow, and place your forearm on the floor. You can bend your left elbow a little if you need support during this movement.
- Now, bend your left elbow and make a fist as you place that forearm on the floor. This position is the elbow plank.
- Once you’re in the elbow plank position, return to the starting position by placing your right palm on the floor first. Then, place your left palm on the floor again.
- Repeat the movements for at least three sets of ten reps.
6 – Wall Push Ups
Doing wall push-ups works your shoulders, lats, biceps, and triceps, whereas a traditional push-up only targets your triceps and core.
- Stand about one to two feet away from a wall.
- Place your palms on the wall, slightly more than shoulder-width apart, with your fingers pointed up.
- Bend your elbows and move toward the wall until your chest and chin are close. Don’t move your legs as you change position.
- Take a deep breath and exhale as you push your body away from the wall.
- Move your body back to the wall, and repeat the movements for three sets of ten reps.
7 – Hammer Curl
A hammer curl requires two dumbbells, or you can hold water bottles in each hand instead.
- Stand straight with your chest up, and hold the dumbbells at your sides with your palms facing your body.
- Curl the weights toward your shoulders by bending your elbows and keeping your upper arms still.
- Return your arms to the starting position.
- Repeat these steps as often as possible, resting between reps if necessary.
8 – Chin-ups
This exercise targets your upper back and shoulders and is an intense workout for your biceps. You’ll need a chin-up bar or something similar that can hold your body weight.
- Grab the bar with an underhand grip, keeping your palms facing you and your hands shoulder-width apart.
- Hang from the bar with your feet crossed.
- Then, bend your elbows, squeeze your shoulder blades together, and lift yourself until your chip is above the bar.
- Hold yourself there for a moment before lowering yourself to the starting position.
- Repeat the movement as many times as you can.
You might not be able to do a chin-up at first, or you might only accomplish one. That’s okay because you can build your strength and challenge yourself to do more as you get better.
9 – Curtsy Lunge with Biceps Curl
The curtsy lunge works more than just your biceps because it also targets your inner thighs and gluteus medius. Since it targets many muscles, it has quite a bit of fat-burning potential. It requires two dumbbells, but you can replace those with full water bottles.
- Stand up straight, with your feet hip-width apart.
- Pick up a dumbbell in each hand and let your arms hang at your sides.
- Using your left leg, take a big step back and cross it behind your right leg.
- Lower your hips by bending your knees until your right thigh is parallel to the floor. You should look like you’re bending into a curtsy.
- Simultaneously, move your weights toward your shoulders by bending your elbows.
- Return to the starting position by driving through your left foot and pushing off your right toe.
- Do it five to ten times on the same side.
- Switch to the other side, and repeat the movement another five to ten times.
10 – Biceps Curls with a Resistance Band
This exercise is slightly different when you use a resistance band, but it has the same effect. Here’s how to do it:
- Place the resistance band beneath the arch of your food.
- Grab each end of the resistance band with your hands at your sides, palms facing forward.
- Tighten your elbows at your ribs while bending your arms until your hands reach your shoulders.
- Lower your hands back to your sides, and repeat the exercise.
- As you do this exercise, don’t bend your body. Your arms should be the only thing that moves.
Preventing Injury with Biceps Exercises
When you work out or exercise, avoiding injury is essential. Your biceps can be vulnerable to tears or injury, especially for middle-aged people. Some of the ways to prevent it include:
-
-
- Choose weights that aren’t too heavy. You’ll know they’re too heavy if they cause you to lose control or overextend your arm.
- Use fluid, controlled movements instead of jerky, sudden ones.
- Do dynamic stretches before your workouts to loosen your muscles.
- Use static stretching after your workout.
- Follow proper technique and form.
- Take time to relax and recover. Aim to do biceps exercises no more than three times a week.
- Don’t do more sets than you can handle, especially if you plan on working those muscles often.
-

Final Thoughts on Biceps Exercises to Melt Arm Fat
If you want to melt arm fat while exercising your biceps, these moves are the way to go. Pick one or two to start, and switch them up occasionally. That way, you can see what you like best and determine what your body responds well to.
Remember to avoid injury because pushing yourself too far won’t help. It’ll only result in tears, injury, or missing out on exercise time while you recover. You can melt arm fat while toning your muscles, so stay dedicated to these as you work on making a difference.